Kali Linux LXC/LXD Images
Table of Contents
Content:
- Overview
- Command line Kali LXD container on Ubuntu host
- Gui Kali LXD container on Ubuntu host
- Privileged Kali LXC container on Kali host
- Unprivileged Kali LXC container on Kali host
- References
Overview
Kali Linux containers are the ideal solution to
- run Kali Linux within other Linux distributions
- provide isolated environments for development or testing activities
without the overhead of virtual machines. Docker is the preferred solution for applications whilst LXC/LXD are preferred for entire systems.
Linux containers provide features like snapshots and freezing which comes in very handy when developing or testing software.
Kali images are available on the image server for LXC and LXD (amd64 and arm64) and can easily be launched either in LXD using the “images:” image server or in LXC using the “lxc-download” template.
LXC is a userspace interface for the Linux kernel containment features. Through a powerful API and simple tools, it lets Linux users easily create and manage system or application containers.
LXD is a next generation system container manager. It offers a user experience similar to virtual machines but using Linux containers instead. It’s image based with pre-made images available for a wide number of Linux distributions and is built around a very powerful, yet pretty simple, REST API.
LXD vs LXC:
LXD is the more convenient of the two but is only available in Ubuntu or other distributions (such as Kali) as snap package.
LXC is available in more distributions and preferred in Kali as it is supported natively and does not required snapd to be running.
Command line Kali LXD container on Ubuntu host
Installing a Kali Linux container in Ubuntu only requires a few steps:
- Install LXD
- Launch a Kali container
- Install additional packages inside the container
- Create non-root user
- Login
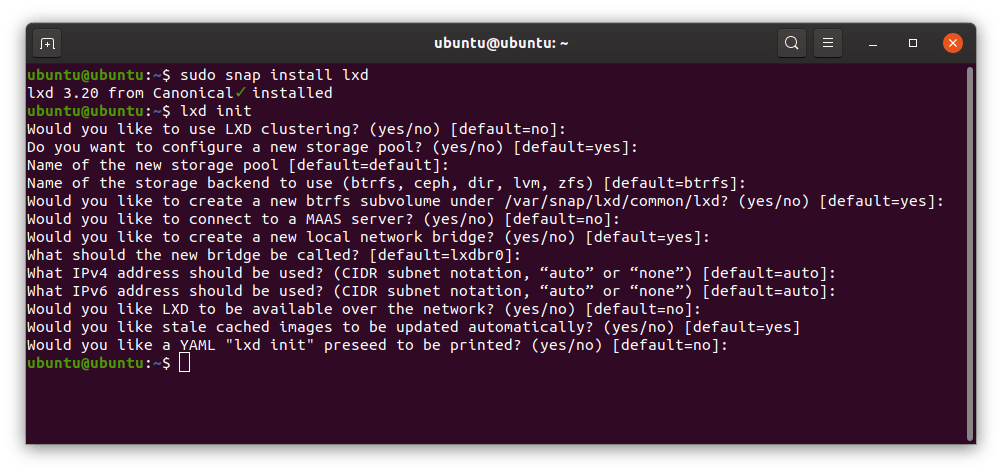
1 - Install lxd via snap and perform initial setup:
kali@kali:~$ sudo snap install lxd
kali@kali:~$ lxd init
kali@kali:~$ lxc launch images:kali/current/amd64 my-kali

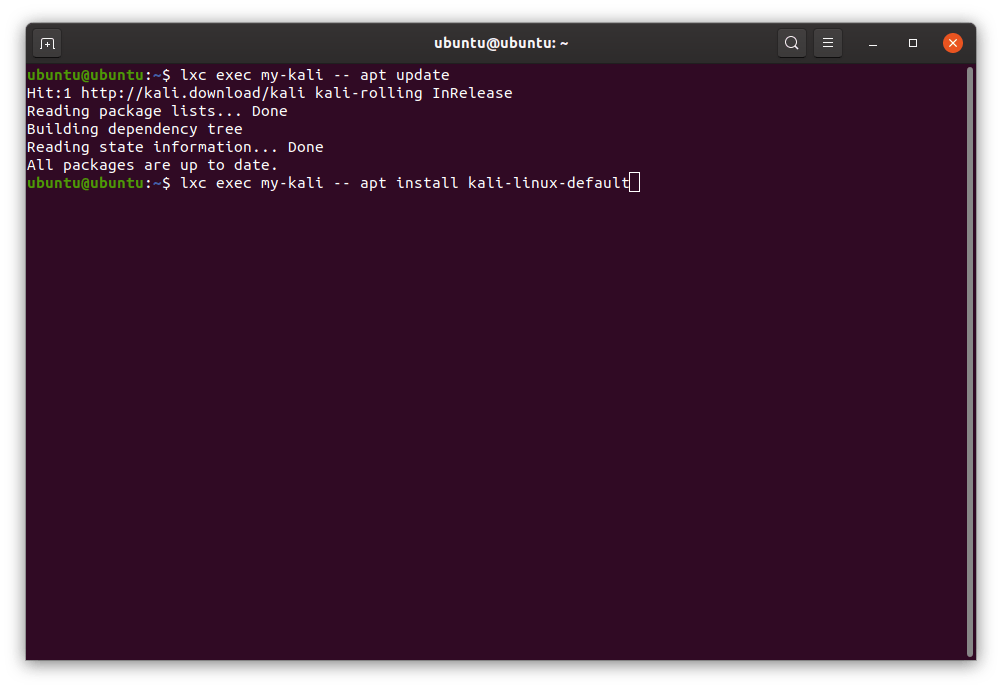
kali@kali:~$ lxc exec my-kali -- apt update
kali@kali:~$ lxc exec my-kali -- apt install -y kali-linux-default kali-desktop-xfce
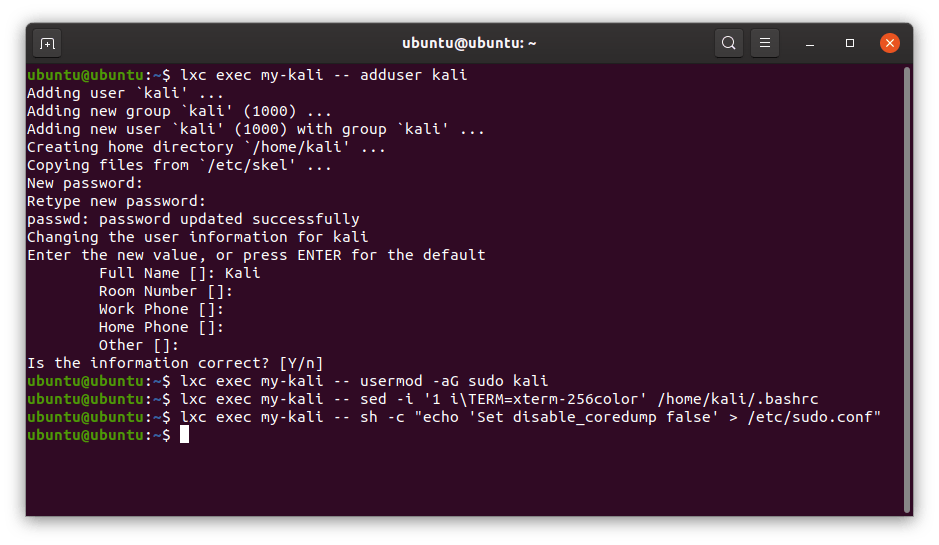
kali@kali:~$ lxc exec my-kali -- adduser kali
kali@kali:~$ lxc exec my-kali -- usermod -aG sudo kali
kali@kali:~$ lxc exec my-kali -- sed -i '1 i\TERM=xterm-256color' /home/kali/.bashrc
kali@kali:~$ lxc exec my-kali -- sh -c "echo 'Set disable_coredump false' > /etc/sudo.conf"
kali@kali:~$ lxc console my-kali
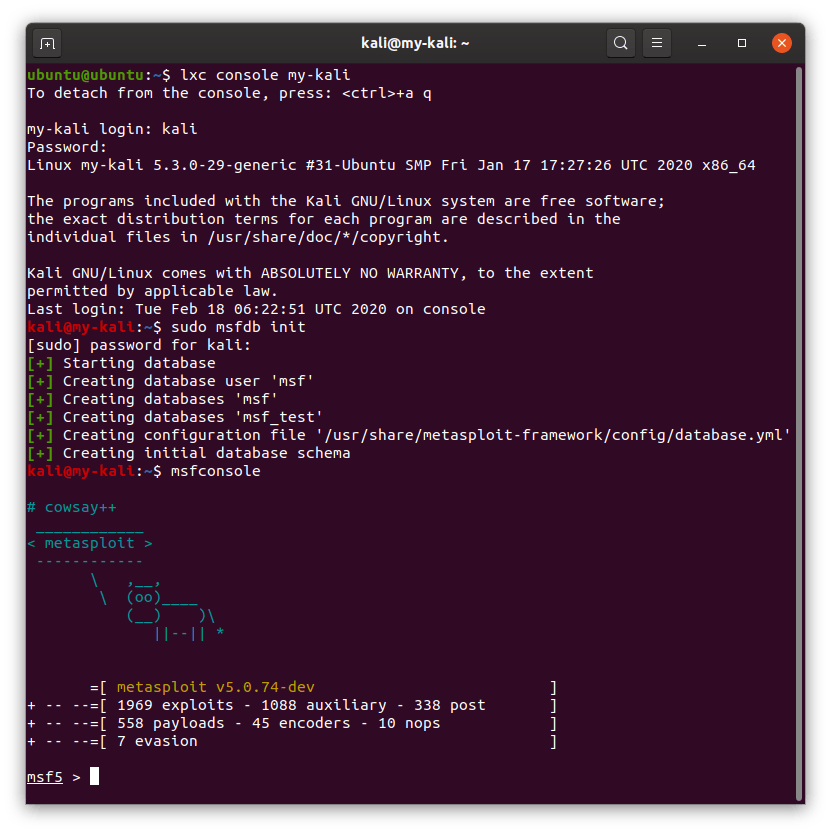
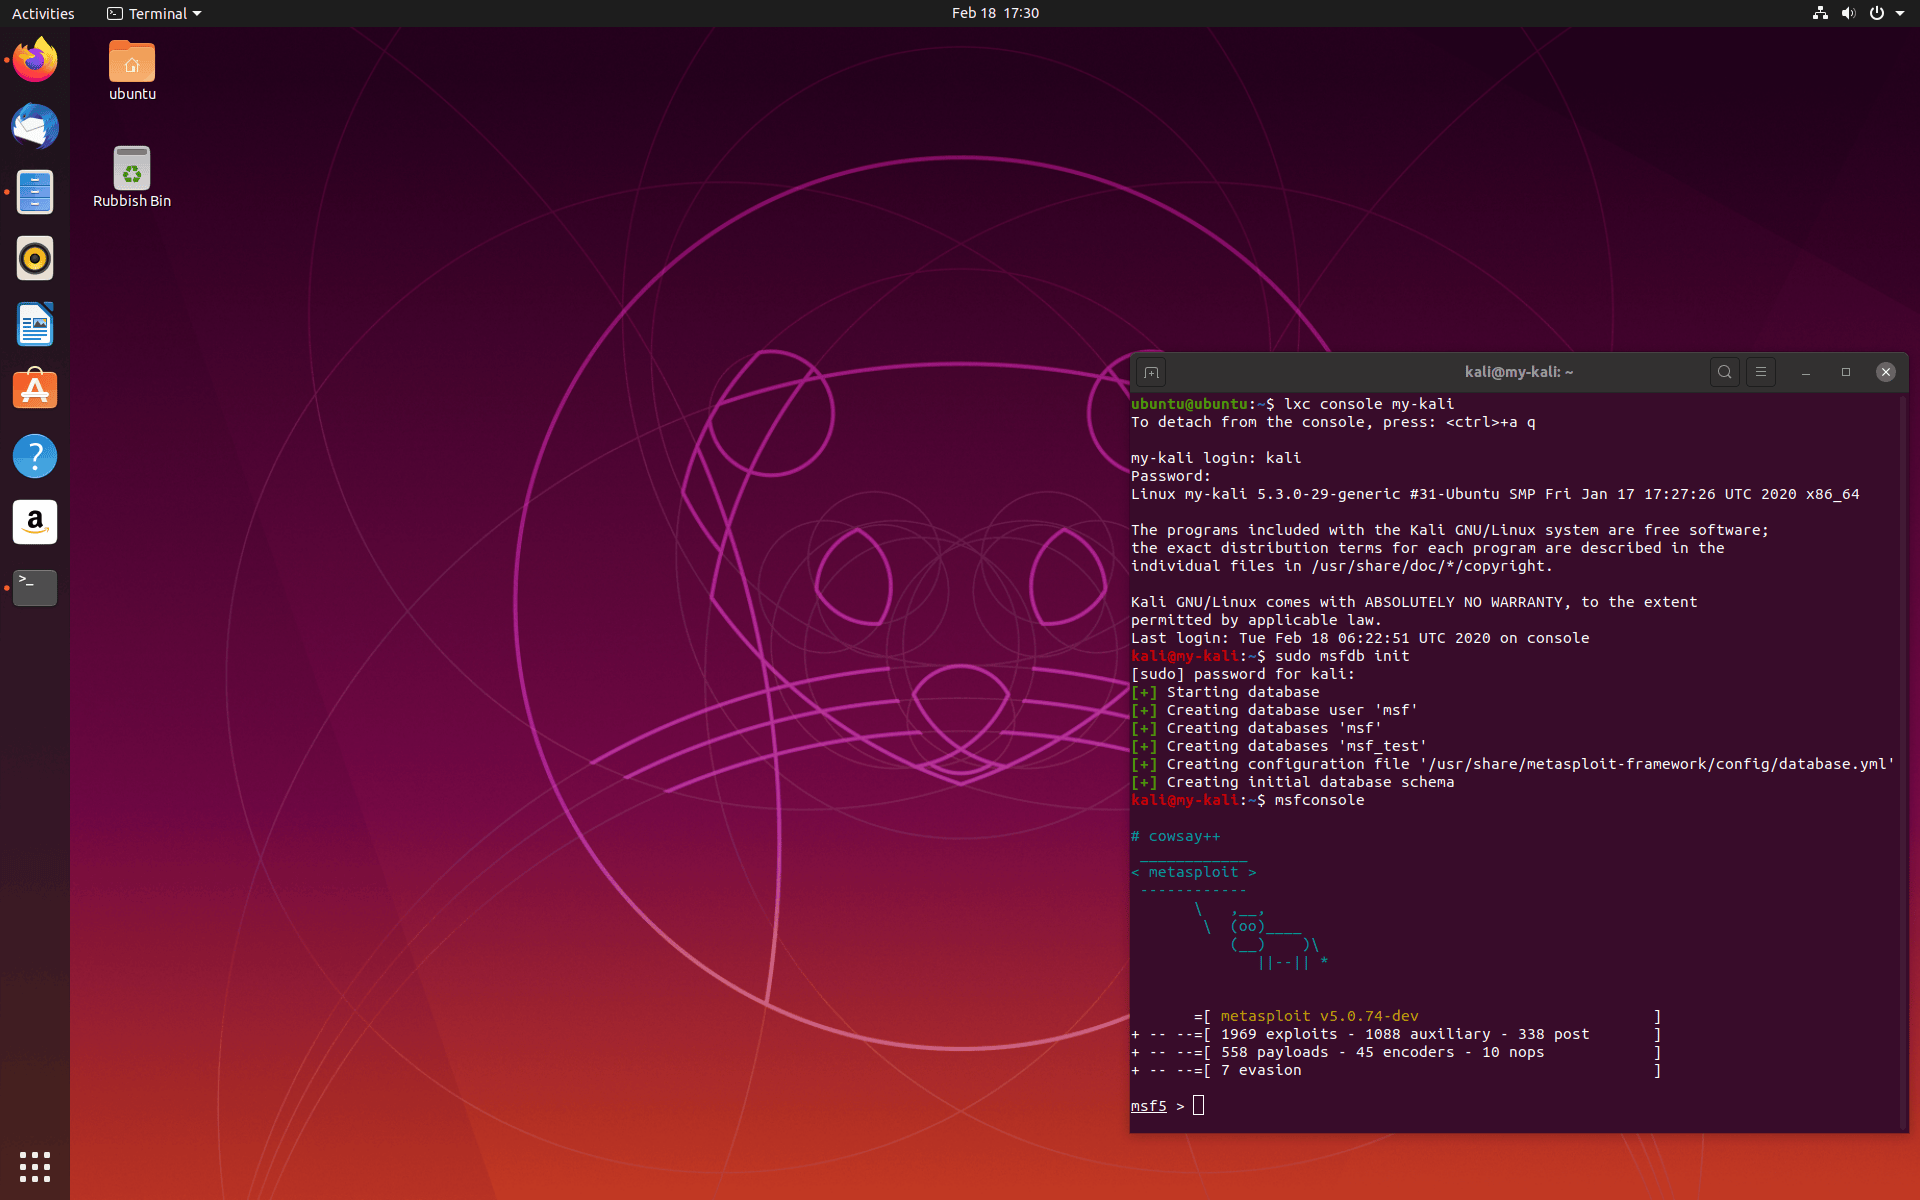
Voila!
Container management:
- Start:
lxc start my-kali - Stop:
lxc stop my-kali - Remove:
lxc destroy my-kali
GUI Kali LXD container on Ubuntu host
Installing a Kali container to run GUI applications is similar to the previous example with a few additional steps:
- Install LXD
- Create GUI profile and launch a Kali GUI container
- Install additional packages inside the container
- Create non-root user
- Start Kali Xfce panel
- Customise Kali Xfce panel
1 - Install lxd via snap and perform initial setup (if not already done):
kali@kali:~$ sudo snap install lxd
kali@kali:~$ lxd init
2 - Launch your first Kali Linux container with
kali@kali:~$ wget https://blog.simos.info/wp-content/uploads/2018/06/lxdguiprofile.txt
kali@kali:~$ lxc profile create gui
kali@kali:~$ cat lxdguiprofile.txt | lxc profile edit gui
kali@kali:~$ lxc profile list
kali@kali:~$ lxc launch --profile default --profile gui images:kali/current/amd64    gui-kali

kali@kali:~$ lxc exec gui-kali -- apt update
kali@kali:~$ lxc exec gui-kali -- apt install -y kali-linux-default
kali@kali:~$ lxc exec gui-kali -- apt install -y kali-desktop-xfce
4 - Create non-root user - “kali” in this example:
kali@kali:~$ lxc exec gui-kali -- adduser kali
kali@kali:~$ lxc exec gui-kali -- usermod -aG sudo kali
kali@kali:~$ lxc exec gui-kali -- sed -i '1 i\TERM=xterm-256color' /home/kali/.bashrc
kali@kali:~$ lxc exec gui-kali -- echo "export DISPLAY=:0" >> /home/kali/.bashrc
kali@kali:~$ lxc exec gui-kali -- sh -c "echo 'Set disable_coredump false' > /etc/sudo.conf"
5 - Fix audio in container for user KALI and ROOT.
kali@kali:~$ lxc exec my-kali -- sh -c "echo 'export PULSE_SERVER=unix:/tmp/.pulse-native' | tee --append /root/.profile"
kali@kali:~$ lxc exec my-kali -- sh -c "echo 'export PULSE_SERVER=unix:/tmp/.pulse-native' | tee --append /home/kali/.profile"
kali@kali:~$ lxc exec my-kali -- sh -c "echo 'default-server = unix:/tmp/.pulse-native' | tee --append /etc/pulse/client.conf"
kali@kali:~$ lxc restart my-kali
6 - Start Kali Xfce panel via
kali@kali:~$ lxc exec gui-kali -- sudo -u kali xfce4-panel

Customise the panel as desired.
Container management:
- Start:
lxc start gui-kali - Stop:
lxc stop gui-kali - Remove:
lxc destroy gui-kali
Privileged Kali LXC container on Kali host
Privileged containers are containers created by root and running as root. They are quicker to setup than unprivileged containers but are inherently unsafe. Installing a privileged Kali Linux container on a Kali host only requires to:
- Install and setup lxc
- Download the Kali image from the image server
- Start the container
- Attach to the container
1 - Install lxc and setup the network:
kali@kali:~$ sudo apt install -y lxc libvirt0 libpam-cgfs bridge-utils libvirt-clients libvirt-daemon-system iptables ebtables dnsmasq-base
kali@kali:~$
kali@kali:~$ sudo cat <<EOF > /etc/lxc/default.conf
lxc.net.0.type = veth
lxc.net.0.link = virbr0
lxc.net.0.flags = up
lxc.apparmor.profile = generated
lxc.apparmor.allow_nesting = 1
EOF
kali@kali:~$
kali@kali:~$ sudo virsh net-start default
kali@kali:~$ sudo virsh net-autostart default

kali@kali:~$ lxc-create -t download -n my-kali
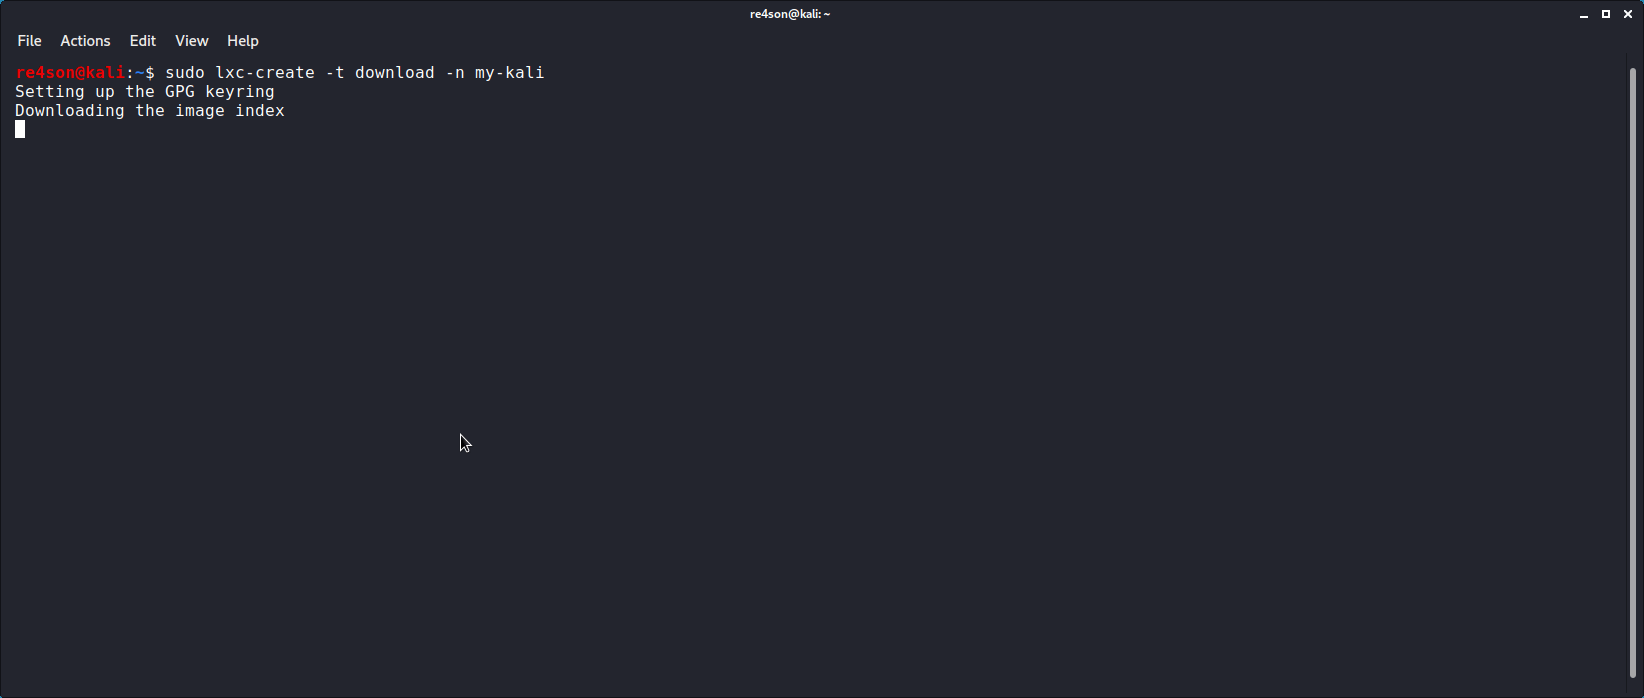
This will list all available images.
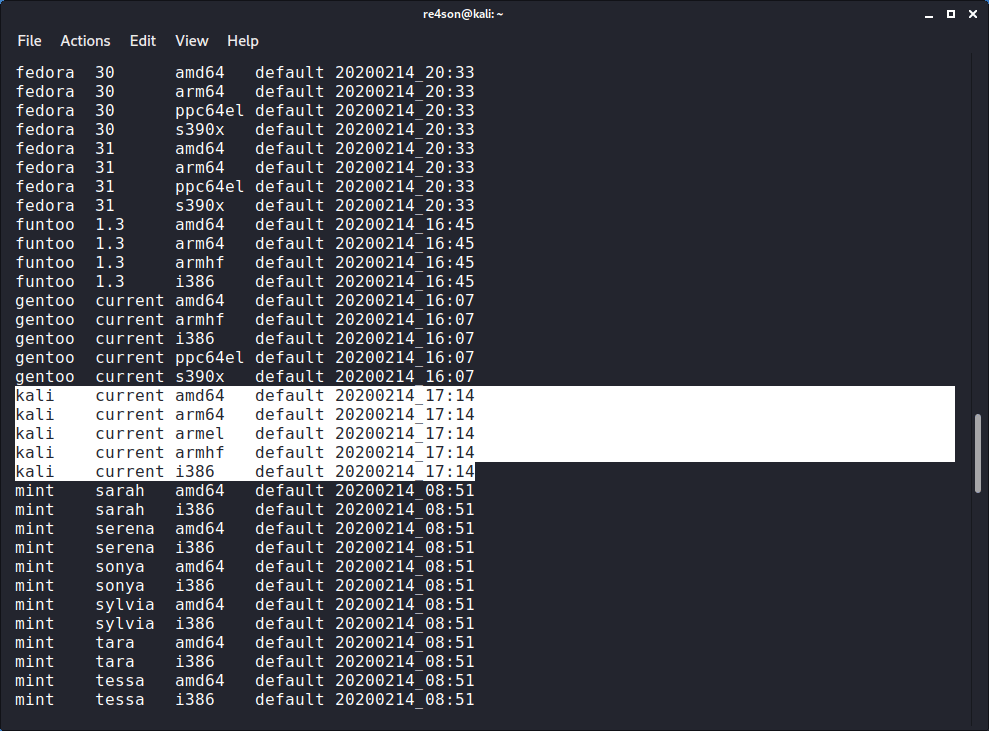
When prompted, enter:
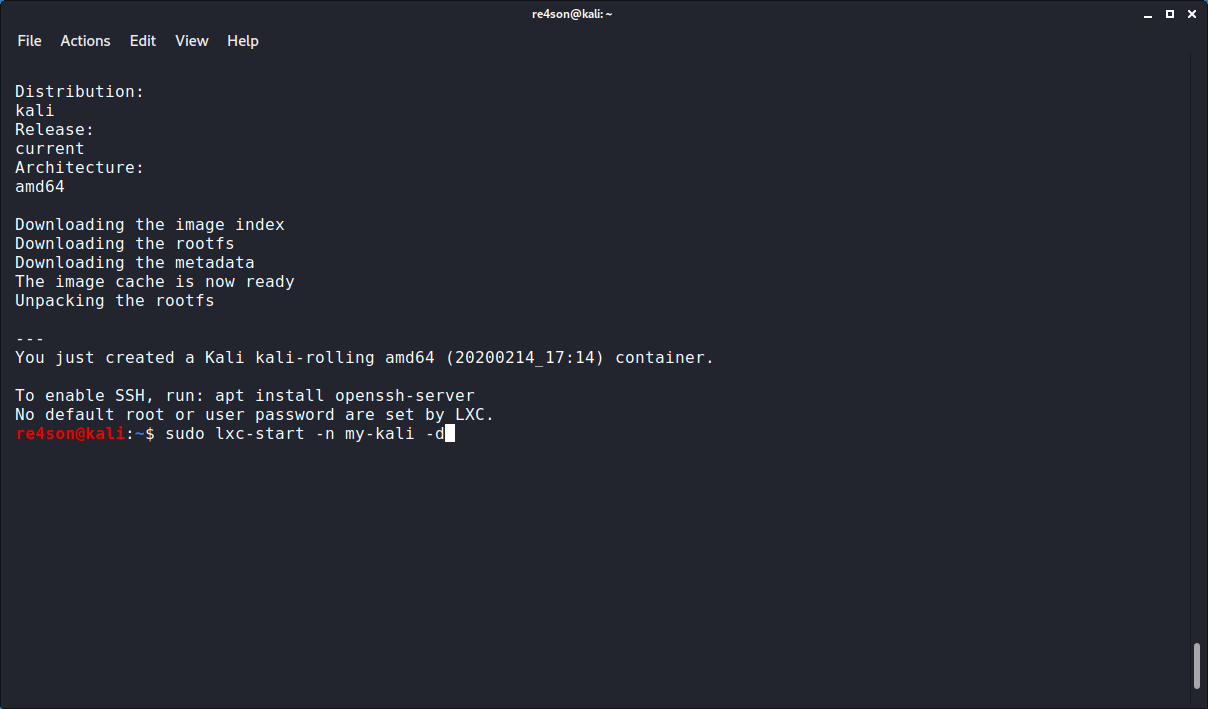
- Distribution: kali
- Release: current
- Architecture: amd64 (or other as applicable)

kali@kali:~$ sudo lxc-start -n my-kali -d
kali@kali:~$ sudo lxc-attach -n my-kali
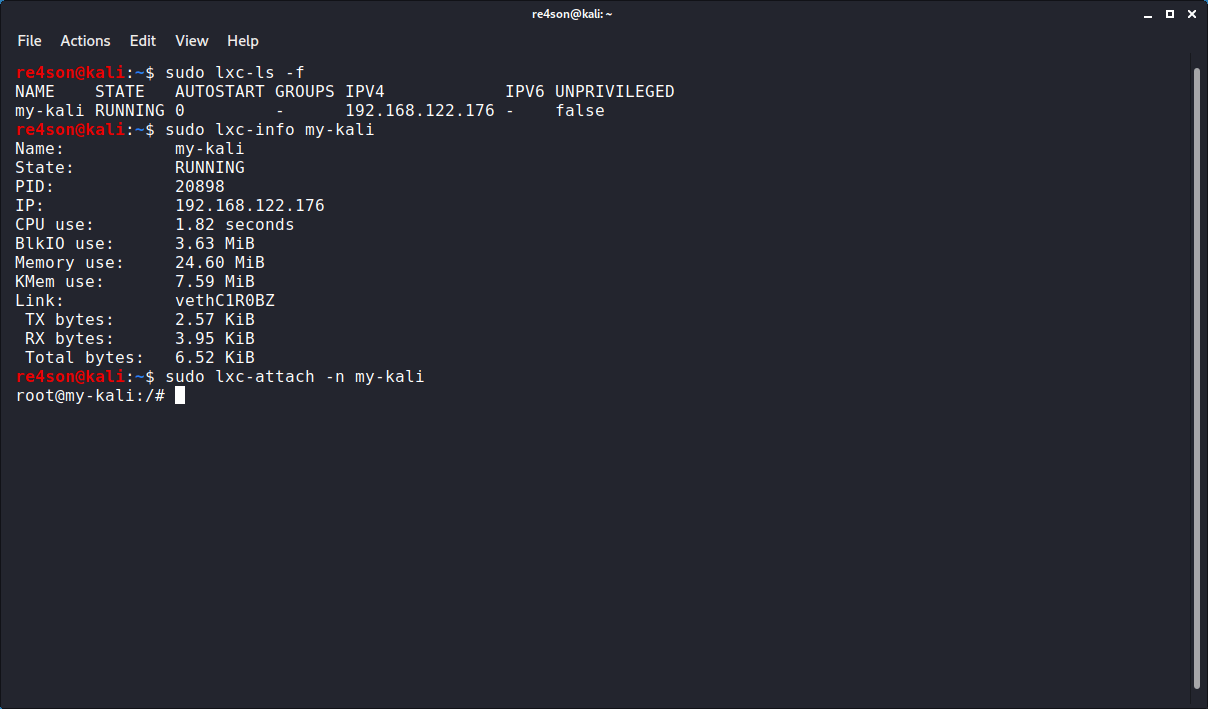
There you have it. Next you should set a root password and install the “kali-linux-default” metapackage.
Container management:
- Start:
sudo lxc-start -n my-kali -d - Stop:
sudo lxc-stop -n my-kali - List:
sudo lxc-ls -f - Info:
sudo lxc-info -n my-kali - Remove:
sudo lxc-destroy -n my-kali
Unprivileged Kali LXC container on Kali host
Unprivileged containers run in a user context and are considered safer and are preferred over using privileged container. The setup it slightly more involved:
- Install and setup lxc
- Setup LXC for unprivileged containers
- Download the Kali image from the image server
- Start the container
- Install some additional packages
- Create non-root user
- Login
1 - Install lxc (if required):
kali@kali:~$ sudo apt install -y lxc libvirt0 libpam-cgfs bridge-utils libvirt-clients libvirt-daemon-system iptables ebtables dnsmasq-base
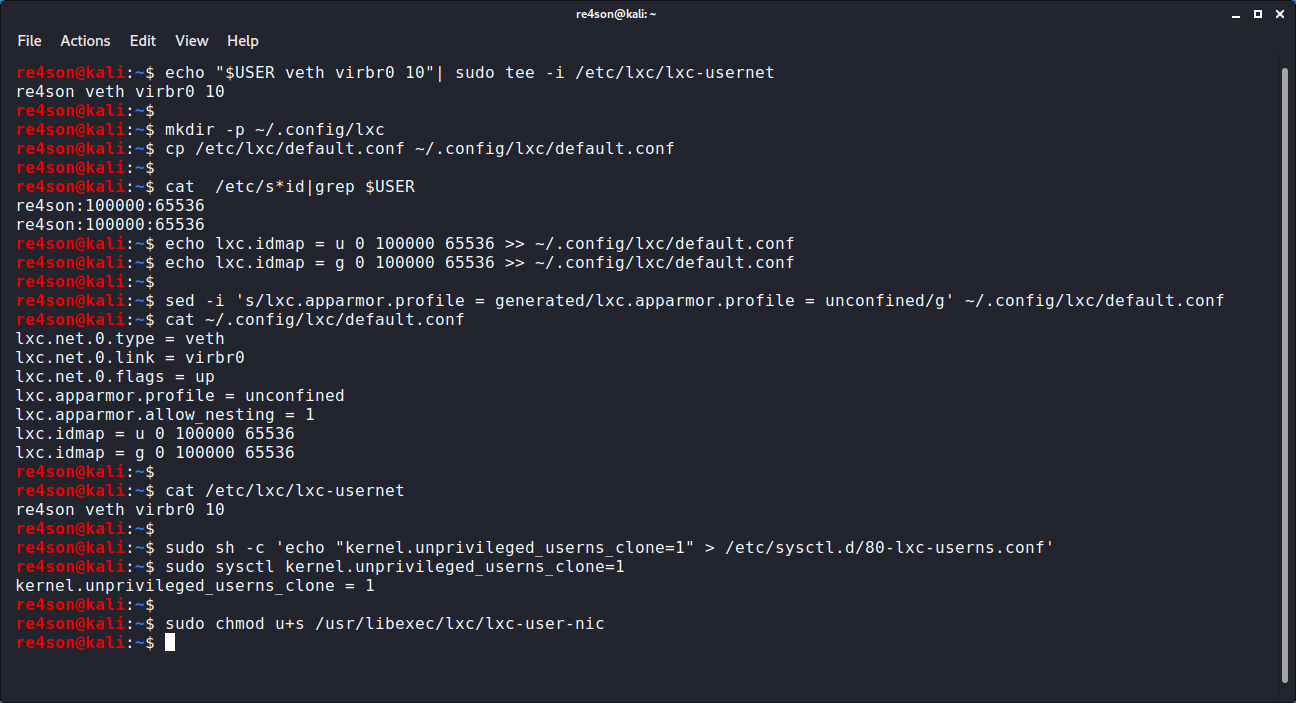
2 - Setup LXC for unprivileged containers
kali@kali:~$ echo "$USER veth virbr0 10" | sudo tee -i /etc/lxc/lxc-usernet
kali@kali:~$ sudo sh -c 'echo "kernel.unprivileged_userns_clone=1" > /etc/sysctl.d/80-lxc-userns.conf'
kali@kali:~$ sudo sysctl kernel.unprivileged_userns_clone=1
kali@kali:~$ sudo chmod u+s /usr/libexec/lxc/lxc-user-nic
kali@kali:~$
kali@kali:~$ mkdir -p ~/.config/lxc
kali@kali:~$ cp /etc/lxc/default.conf ~/.config/lxc/default.conf
kali@kali:~$ sed -i 's/lxc.apparmor.profile = generated/lxc.apparmor.profile = unconfined/g' ~/.config/lxc/default.conf
Next we have to add two lines into ~/.config/lxc/default.conf whose subuid & subguid match those listed in /etc/subuid and /etc/subgid.
First let’s get the id’s via cat /etc/s*i d grep $USER
The result should look like this:
kali:100000:65536
kali:100000:65536
Substitute the ID’s in the following commands with the ones in the previous output:
kali@kali:~$ echo lxc.idmap = u 0 100000 65536 >> ~/.config/lxc/default.conf
kali@kali:~$ echo lxc.idmap = g 0 100000 65536 >> ~/.config/lxc/default.conf
kali@kali:~$ lxc-create -t download -n my-kali

This will list all available images.
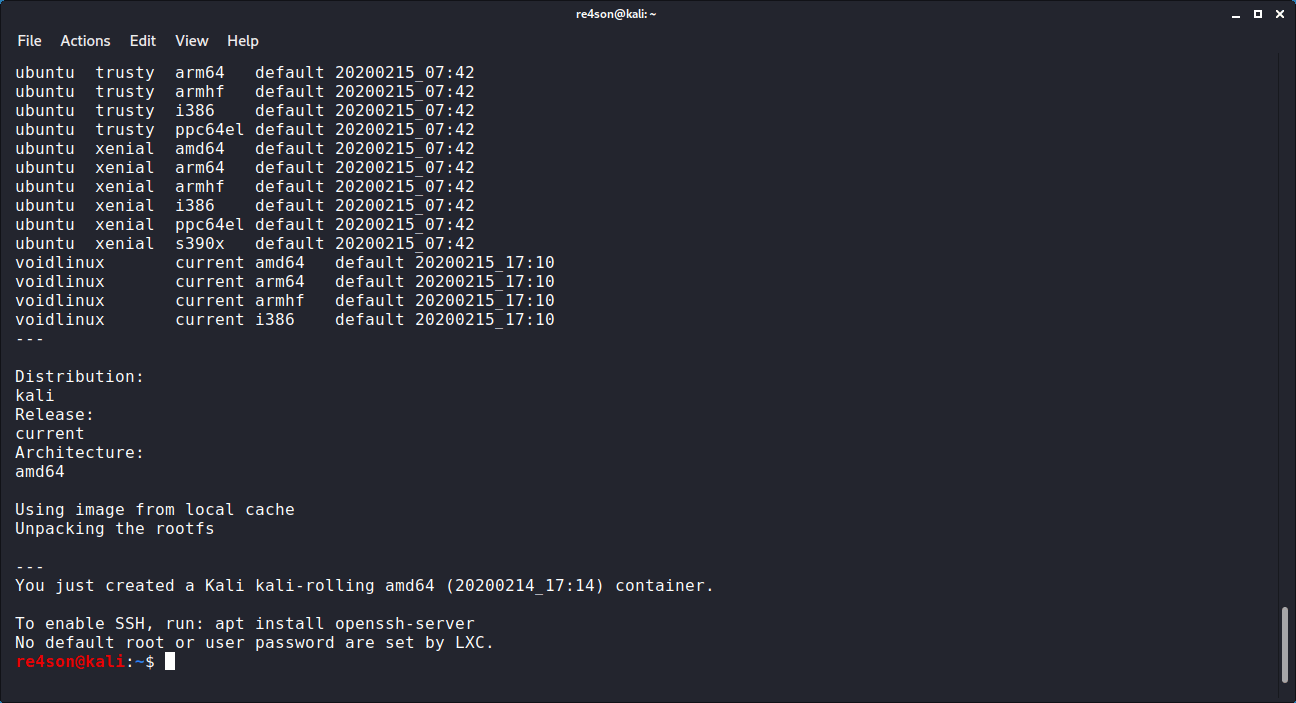
When prompted, enter:
- Distribution: kali
- Release: current
- Architecture: amd64 (or other as applicable)

kali@kali:~$ lxc-start -n my-kali -d
But before we login, we perform some post-installation setup tasks
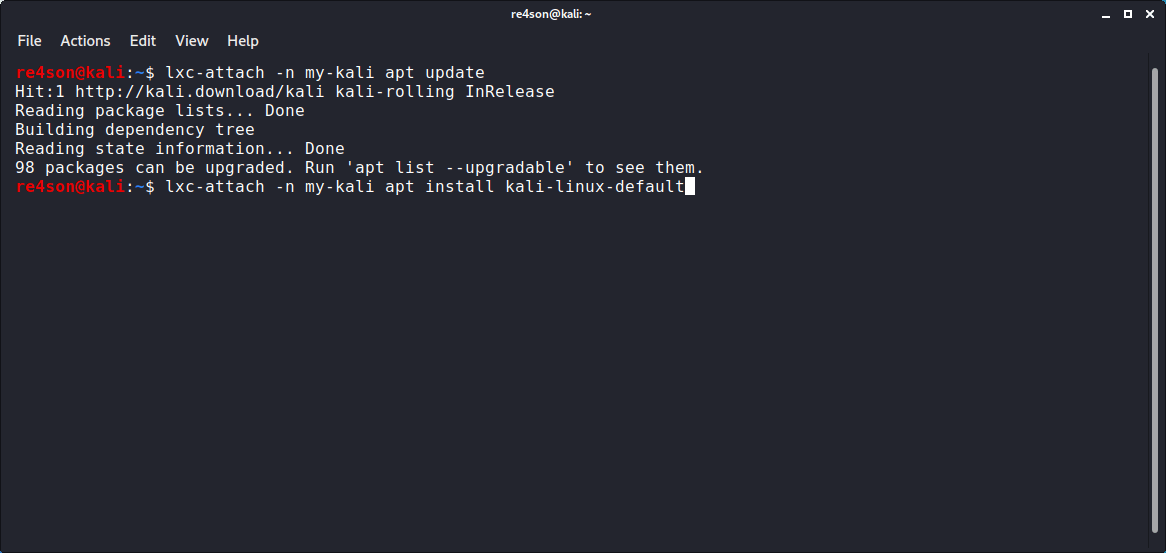
5 - Install default packages:
kali@kali:~$ lxc-attach -n my-kali apt update
kali@kali:~$ lxc-attach -n my-kali apt install -y kali-linux-default
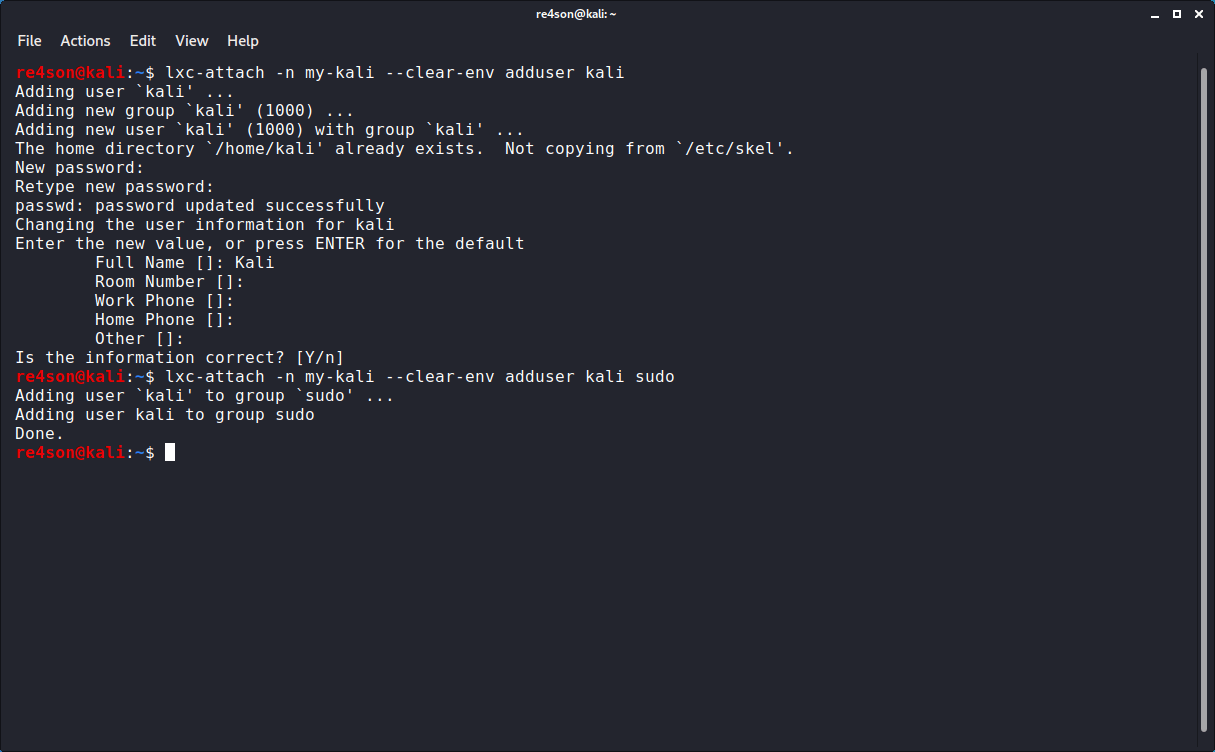
kali@kali:~$ lxc-attach -n my-kali --clear-env adduser <username>
kali@kali:~$ lxc-attach -n my-kali --clear-env adduser <username> sudo
kali@kali:~$ lxc-console
And perform the following on initial login to get some colors in the console:
kali@kali:~$ sed -i '1 i\TERM=xterm-256color' ~/.bashrc
kali@kali:~$ . ~/.bashrc
Container management:
- Start:
sudo lxc-start -n my-kali -d - Stop:
sudo lxc-stop -n my-kali - List:
sudo lxc-ls -f - Info:
sudo lxc-info -n my-kali - Remove:
sudo lxc-destroy -n my-kali
References:
Updated on: 2025-Jun-18
Author:
re4son